From shoreline to finished frame
How It Works
From the first conversation to the final frame, every custom lake map moves through research, design, testing, preparation, production, and careful hand assembly.
From Lake Data to Layered Wood Art
Every piece begins with the lake you choose. We translate its shoreline and available depth information into a layered design, refine the layout around your requested details, and build each map by hand in Minnesota.
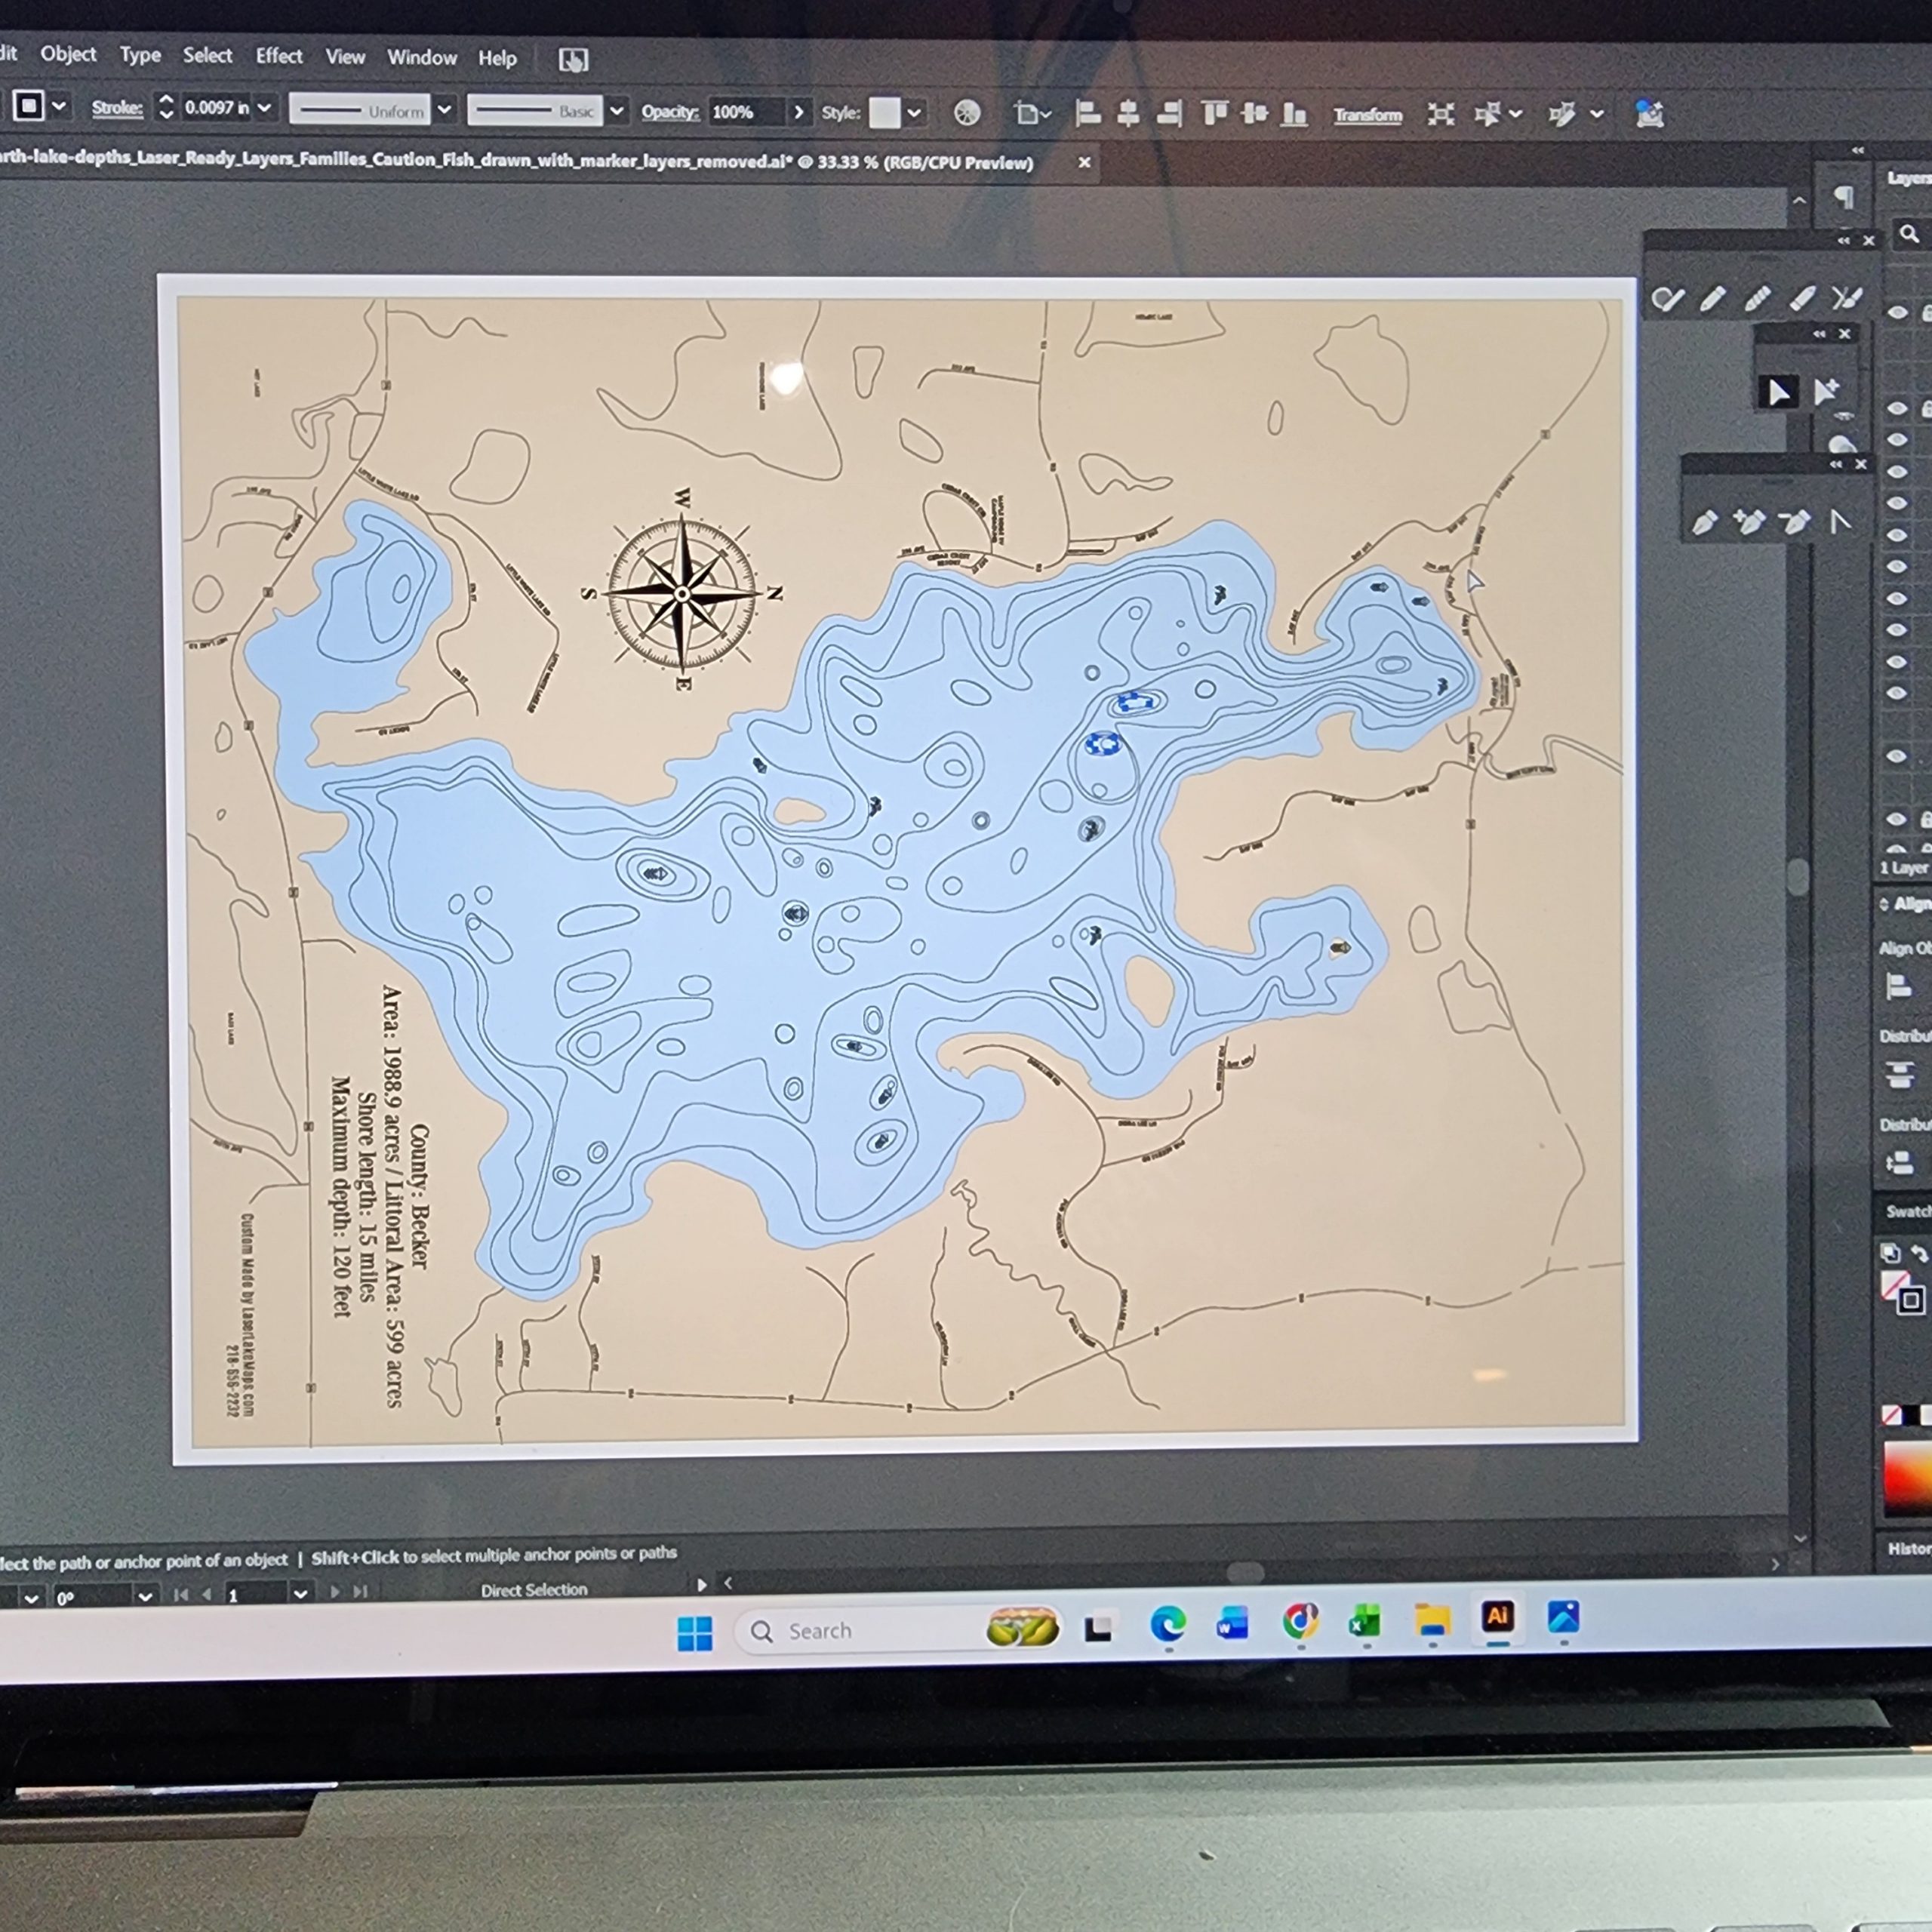
1. Design & Layout
The shoreline, depth contours, labels, compass, icons, and personalization are arranged into a balanced digital proof for your review.
2. Cut & Finish
After approval, the individual wood layers are laser cut and engraved, then carefully colored and finished to create depth and contrast.
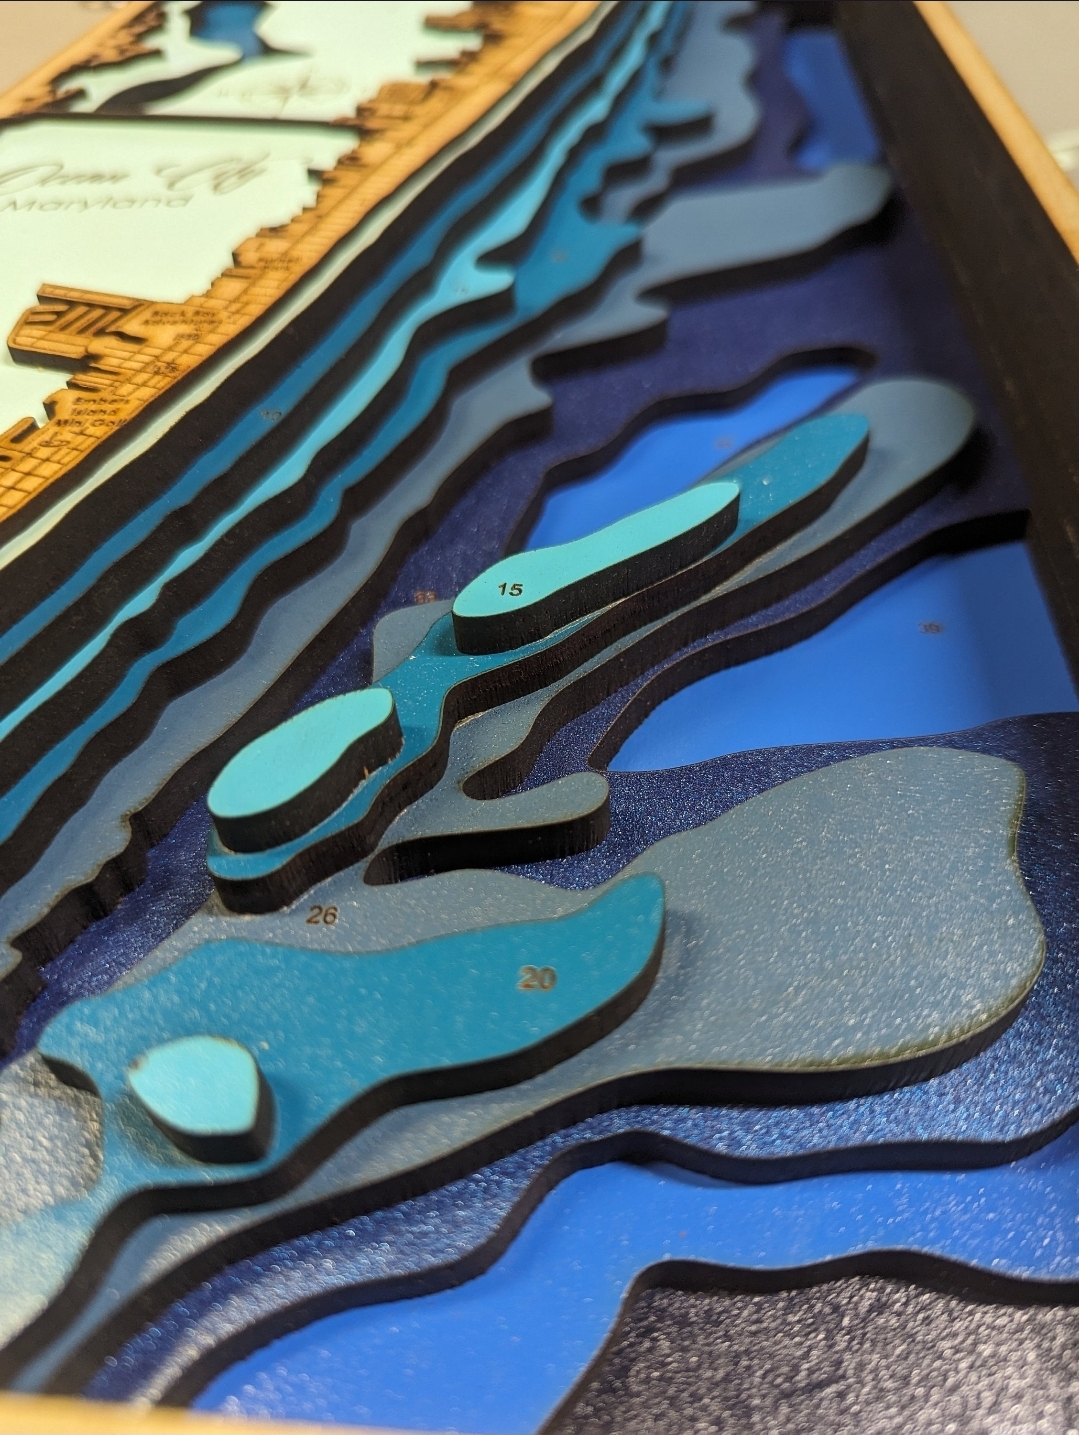
3. Assemble & Frame
The finished layers are aligned and assembled, framed in your selected wood tone, inspected, and prepared for display.
The Custom Map Process
Choose Your Lake
Tell us the lake or body of water, location, preferred size, and whether the map is for your home, cabin, gift, resort, or business.
Select Your Details
Choose layers, water colors, land finish, framing, labels, icons, coordinates, names, dates, messages, and other personal details.
Review Your Proof
Verify spelling, placement, lake contours, colors, size, orientation, and personalization before production begins.
Quality Check & Delivery
We inspect the layers, engraved details, finish, frame, and hardware before packaging the piece for pickup, delivery, or shipping.
Ready to Begin?
Start with the lake name and location. If you are unsure about layers, colors, or personalization, we will help you choose.
MORE THAN A LASER-CUT MAP
A Custom Map Is Built in Six Careful Stages
Every lake, layout, and story is different. The work moves from conversation and research to digital drafting, physical testing, material preparation, hands-on production, and a detailed final inspection. Each stage protects the accuracy, appearance, and personal meaning of the finished piece.
STEP 01 · DISCOVERY
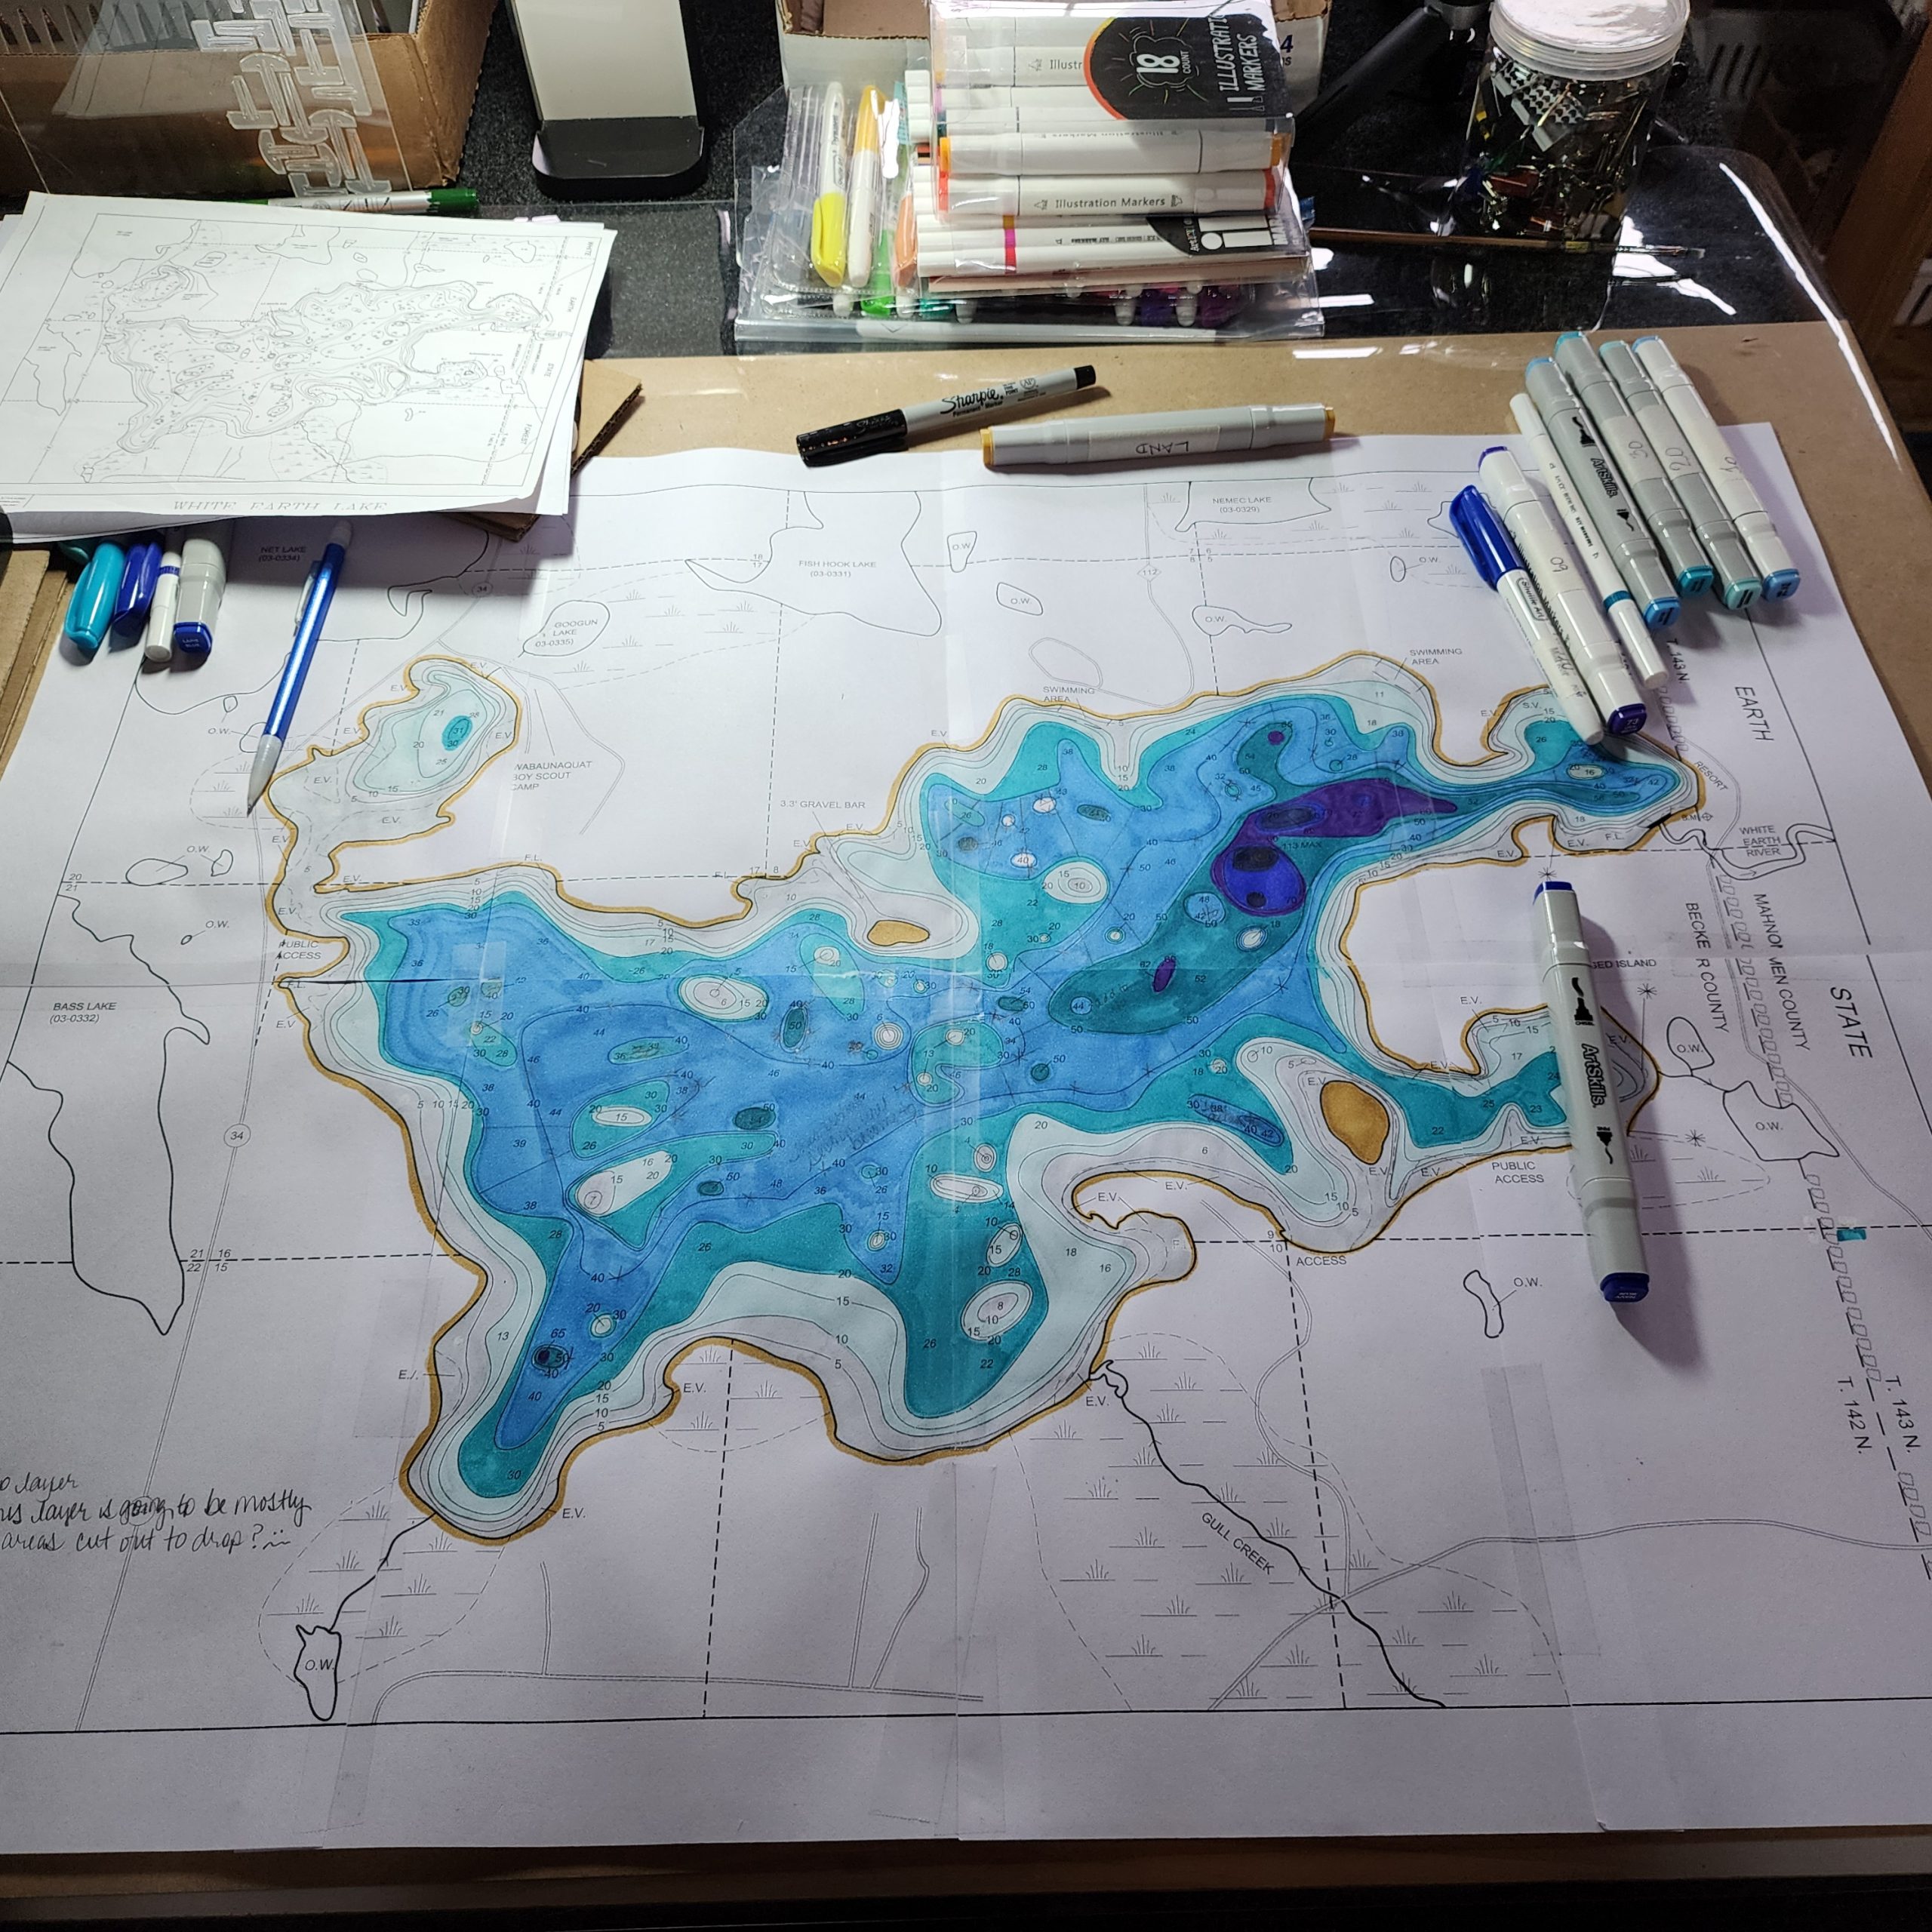
We Begin With Your Lake and Your Story
The process starts with a conversation. We gather the lake name and location, preferred size and orientation, intended display space, number of depth layers, water and land colors, frame choice, and desired completion date. We also discuss names, dates, coordinates, icons, landmarks, fishing spots, access points, resort or business branding, and any message that makes the map personal. Available shoreline and depth information is reviewed so expectations are clear before design begins.
STEP 02 · DIGITAL DESIGN
The Lake Is Rebuilt as a Layered Digital Design
Using detailed graphics programs such as Adobe Illustrator and Photoshop, source information is cleaned, traced, scaled, and separated into individual production layers. Shorelines, depth contours, roads, labels, compass artwork, icons, engraving, and personalization are balanced for clarity. Every line must work both visually and as a laser-ready cutting path. A proof is then prepared so you can review spelling, placement, orientation, proportions, colors, and personal details.
STEP 03 · PROTOTYPE
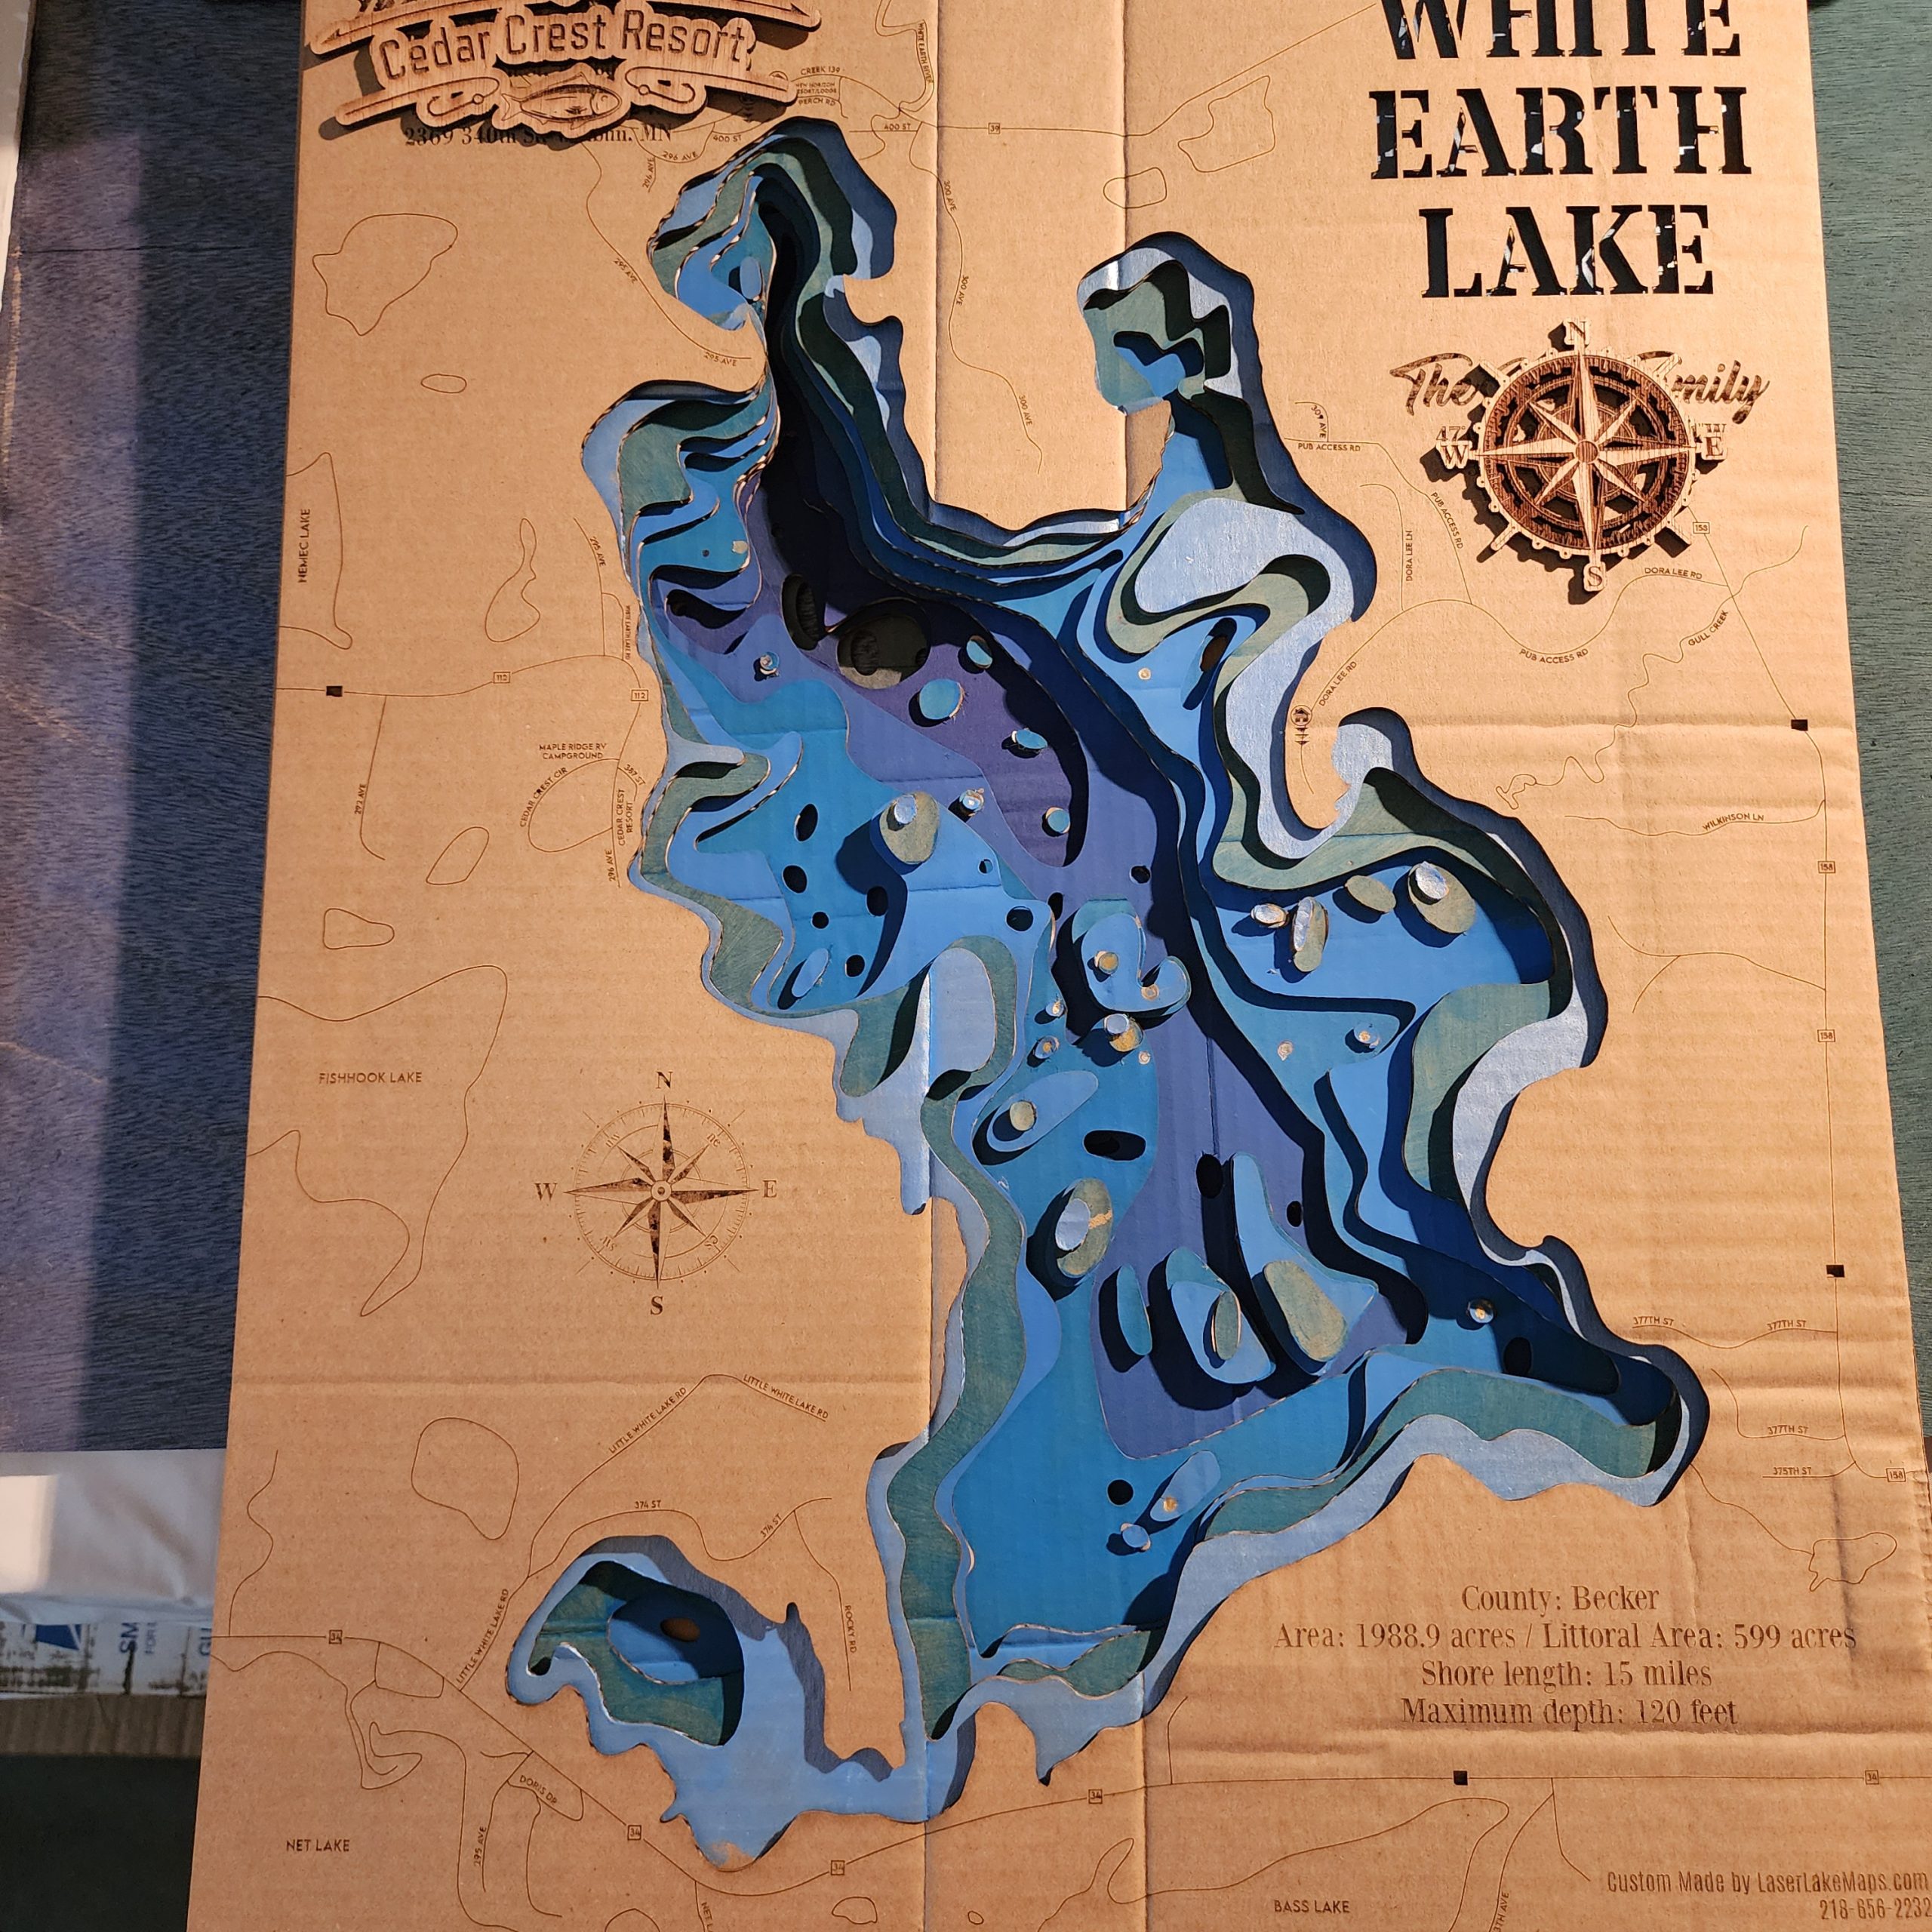
A Full Prototype Tests the Design Before Wood
Before committing the design to finished materials, a cardboard prototype is constructed. This physical test reveals details that a screen cannot: how the layers register, whether small islands and narrow channels remain strong, how engraving reads at the chosen size, whether personal details feel balanced, and how the finished map will sit within its frame. Adjustments are made until the design is production-ready.
STEP 04 · MATERIAL PREPARATION
Wood, Color, and Frame Materials Are Prepared
The required wood sheets, frame stock, finishes, stains, adhesives, backing, and hanging hardware are gathered for the approved design. Materials are inspected for grain, flatness, and defects, then measured, sanded, and prepared for production. Water gradients and land finishes are planned layer by layer so the colors create depth without obscuring engraved details.

STEP 05 · PRODUCTION
Each Layer Is Finished, Lasered, and Built by Hand
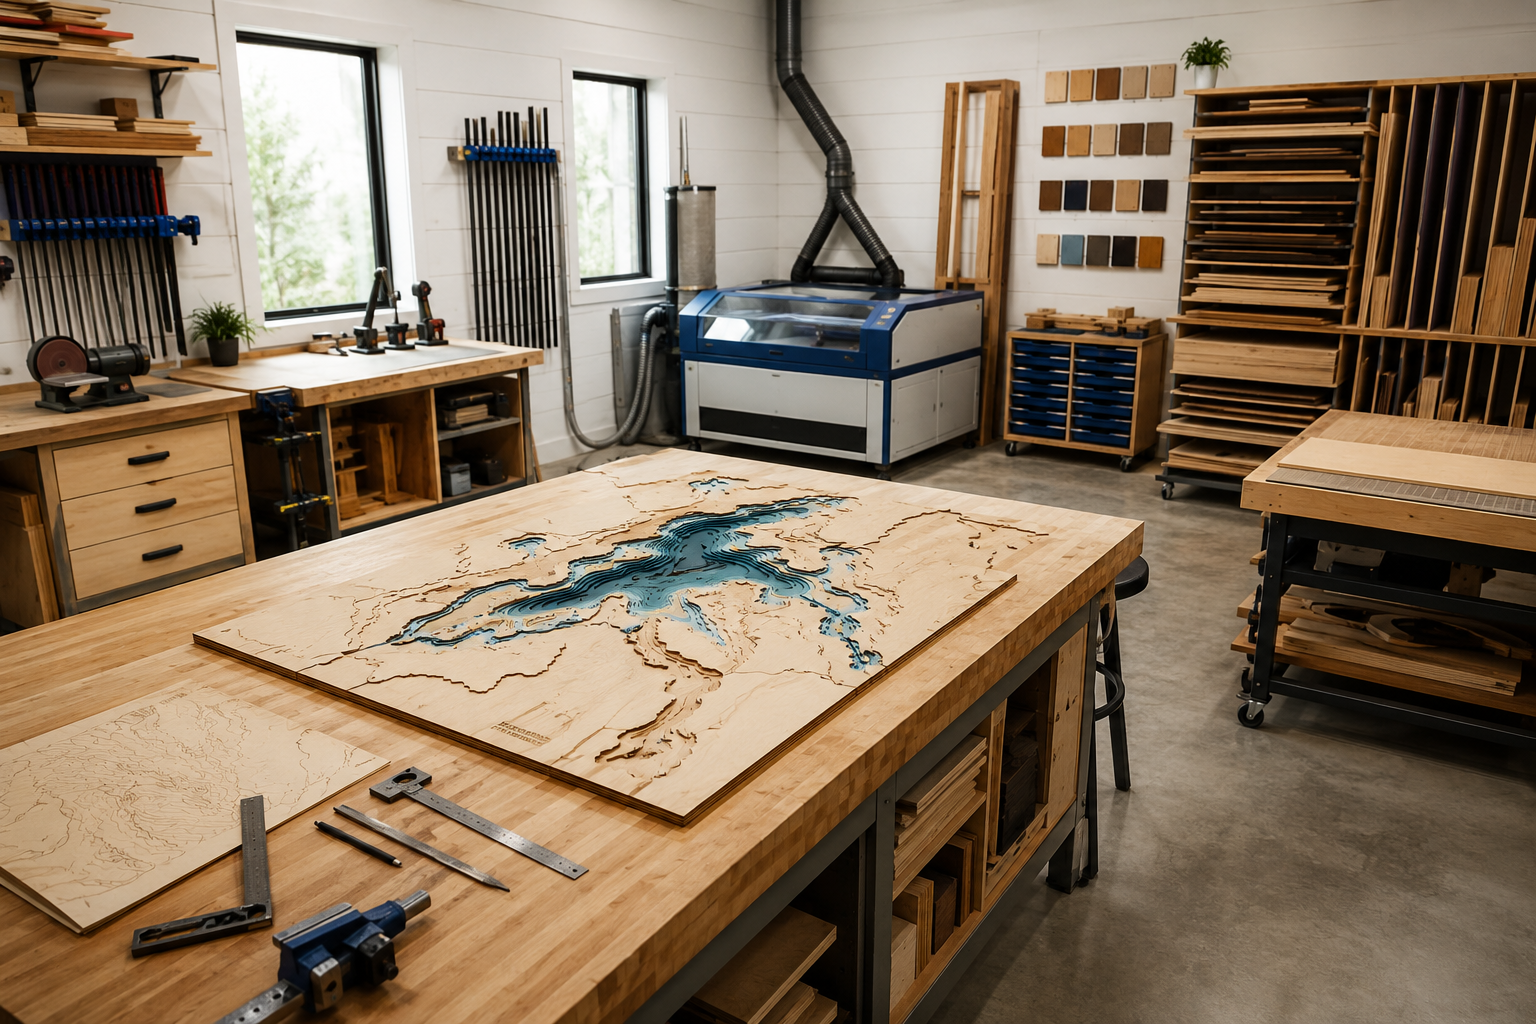
This is where the design becomes a one-of-a-kind object. Individual levels are stained or colored, laser cut, and engraved according to the approved files. Cut edges and surfaces are cleaned and refined, then the layers are carefully aligned and bonded in sequence. At the same time, the selected frame is cut, joined, sanded, colored, and finished. Because every order has its own lake, palette, details, and construction choices, production is never a simple one-button process.
STEP 06 · ASSEMBLY & FINAL REVIEW
The Details Come Together—and Everything Is Checked
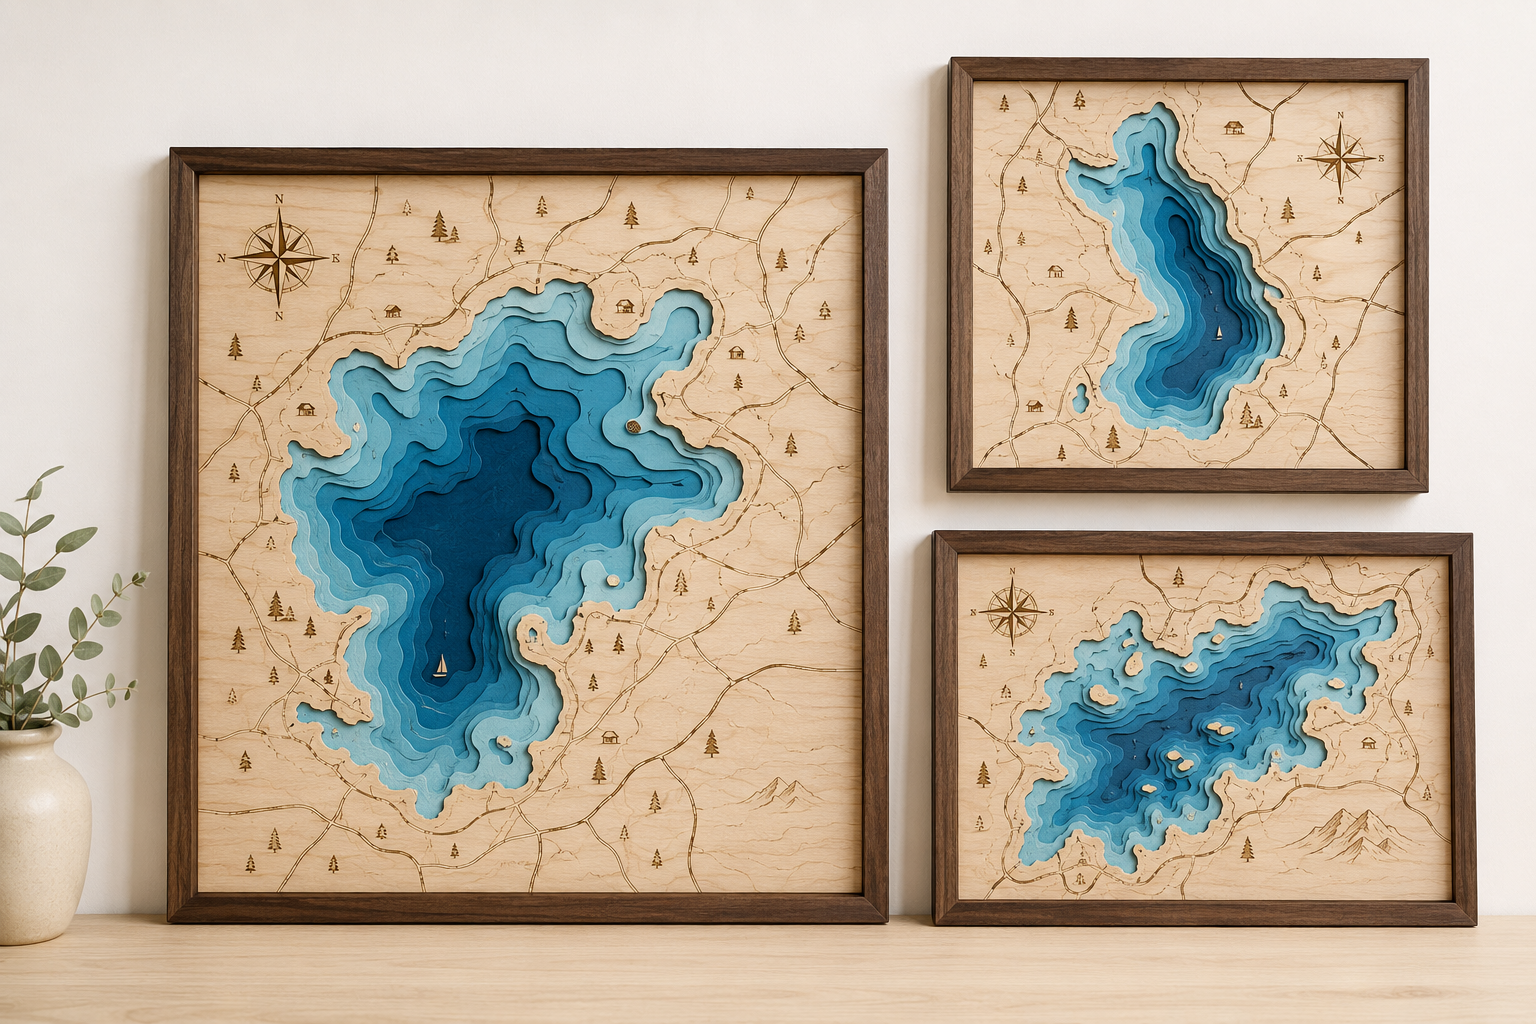
The completed map is fitted to its frame and inspected as a whole. Layer alignment, engraving, spelling, color transitions, frame joints, finish, backing, and hanging hardware are checked before the piece is approved. The final map is cleaned and prepared for local pickup, delivery, or protective shipping—ready to represent the lake and memories that inspired it.
Ready to Begin Your Map?
Start with the lake name and location. If you are unsure about layers, colors, framing, or personalization, we will guide you through the decisions.
Request a Custom QuoteMORE THAN A LASER-CUT MAP
A Custom Map Is Built in Six Careful Stages
Every lake, layout, and story is different. The work moves from conversation and research to digital drafting, physical testing, material preparation, hands-on production, and a detailed final inspection. Each stage protects the accuracy, appearance, and personal meaning of the finished piece.
STEP 01 · DISCOVERY
We Begin With Your Lake and Your Story
The process starts with a conversation. We gather the lake name and location, preferred size and orientation, intended display space, number of depth layers, water and land colors, frame choice, and desired completion date. We also discuss names, dates, coordinates, icons, landmarks, fishing spots, access points, resort or business branding, and any message that makes the map personal. Available shoreline and depth information is reviewed so expectations are clear before design begins.
STEP 02 · DIGITAL DESIGN
The Lake Is Rebuilt as a Layered Digital Design
Using detailed graphics programs such as Adobe Illustrator and Photoshop, source information is cleaned, traced, scaled, and separated into individual production layers. Shorelines, depth contours, roads, labels, compass artwork, icons, engraving, and personalization are balanced for clarity. Every line must work both visually and as a laser-ready cutting path. A proof is then prepared so you can review spelling, placement, orientation, proportions, colors, and personal details.
STEP 03 · PROTOTYPE
A Full Prototype Tests the Design Before Wood
Before committing the design to finished materials, a cardboard prototype is constructed. This physical test reveals details that a screen cannot: how the layers register, whether small islands and narrow channels remain strong, how engraving reads at the chosen size, whether personal details feel balanced, and how the finished map will sit within its frame. Adjustments are made until the design is production-ready.
STEP 04 · MATERIAL PREPARATION
Wood, Color, and Frame Materials Are Prepared
The required wood sheets, frame stock, finishes, stains, adhesives, backing, and hanging hardware are gathered for the approved design. Materials are inspected for grain, flatness, and defects, then measured, sanded, and prepared for production. Water gradients and land finishes are planned layer by layer so the colors create depth without obscuring engraved details.
STEP 05 · PRODUCTION
Each Layer Is Finished, Lasered, and Built by Hand
This is where the design becomes a one-of-a-kind object. Individual levels are stained or colored, laser cut, and engraved according to the approved files. Cut edges and surfaces are cleaned and refined, then the layers are carefully aligned and bonded in sequence. At the same time, the selected frame is cut, joined, sanded, colored, and finished. Because every order has its own lake, palette, details, and construction choices, production is never a simple one-button process.
STEP 06 · ASSEMBLY & FINAL REVIEW
The Details Come Together—and Everything Is Checked
The completed map is fitted to its frame and inspected as a whole. Layer alignment, engraving, spelling, color transitions, frame joints, finish, backing, and hanging hardware are checked before the piece is approved. The final map is cleaned and prepared for local pickup, delivery, or protective shipping—ready to represent the lake and memories that inspired it.
Ready to Begin Your Map?
Start with the lake name and location. If you are unsure about layers, colors, framing, or personalization, we will guide you through the decisions.
Request a Custom QuoteMORE THAN A LASER-CUT MAP
A Custom Map Is Built in Six Careful Stages
Every lake, layout, and story is different. The work moves from conversation and research to digital drafting, physical testing, material preparation, hands-on production, and a detailed final inspection. Each stage protects the accuracy, appearance, and personal meaning of the finished piece.
STEP 01 · DISCOVERY
We Begin With Your Lake and Your Story
The process starts with a conversation. We gather the lake name and location, preferred size and orientation, display space, number of layers, colors, frame choice, completion date, and every meaningful detail—from names, dates, coordinates, icons, and landmarks to fishing spots, access points, branding, or a personal message. We also review available shoreline and depth information so the design begins with the strongest possible source material.
STEP 02 · DIGITAL DESIGN
The Lake Is Rebuilt as a Layered Digital Design
Using detailed graphics programs such as Adobe Illustrator and Photoshop, the lake is cleaned, traced, scaled, and separated into individual layers. Shorelines, depth contours, roads, labels, compass details, icons, engraving, and personalization are carefully positioned. Every shape is converted into precise, laser-ready paths, and the planned composition is reviewed before physical work begins.
STEP 03 · PROTOTYPE
A Full Prototype Tests the Design Before Wood
A cardboard prototype is constructed to test the complete design before finished materials are used. This practical stage checks layer registration, islands and narrow channels, engraving readability, visual balance, overall dimensions, and frame fit. Adjustments are made until the map is accurate, balanced, and ready for production.
STEP 04 · MATERIAL PREPARATION
Wood, Color, and Frame Materials Are Prepared
The selected wood, frame stock, finishes, stains, adhesives, backing, and hanging hardware are gathered and inspected. Materials are checked for grain, flatness, and defects, then measured, sanded, and prepared. The color sequence and finish for each lake level are planned so the completed layers work together as one cohesive piece.
STEP 05 · PRODUCTION
Each Layer Is Finished, Lasered, and Built by Hand
Production is where the design begins to take physical form. Each level is stained or colored, then individually laser cut and engraved. The pieces are cleaned, refined, aligned, and bonded in sequence. At the same time, the chosen frame is cut, joined, sanded, colored, and finished. This is not a one-button process—every map is built to the customer’s chosen specifications.
STEP 06 · ASSEMBLY & FINAL REVIEW
The Details Come Together—and Everything Is Checked
The completed map is fitted into its frame and carefully inspected. Alignment, engraving, spelling, colors, frame joints, finish, backing, and hanging hardware are all reviewed. The piece is cleaned and prepared for pickup, delivery, or protected shipping so it arrives ready to display and enjoy.
Ready to Begin Your Map?
Start with the lake name and location. If you are unsure about layers, colors, framing, or personalization, we will guide you through the decisions.
Request a Custom Quote